
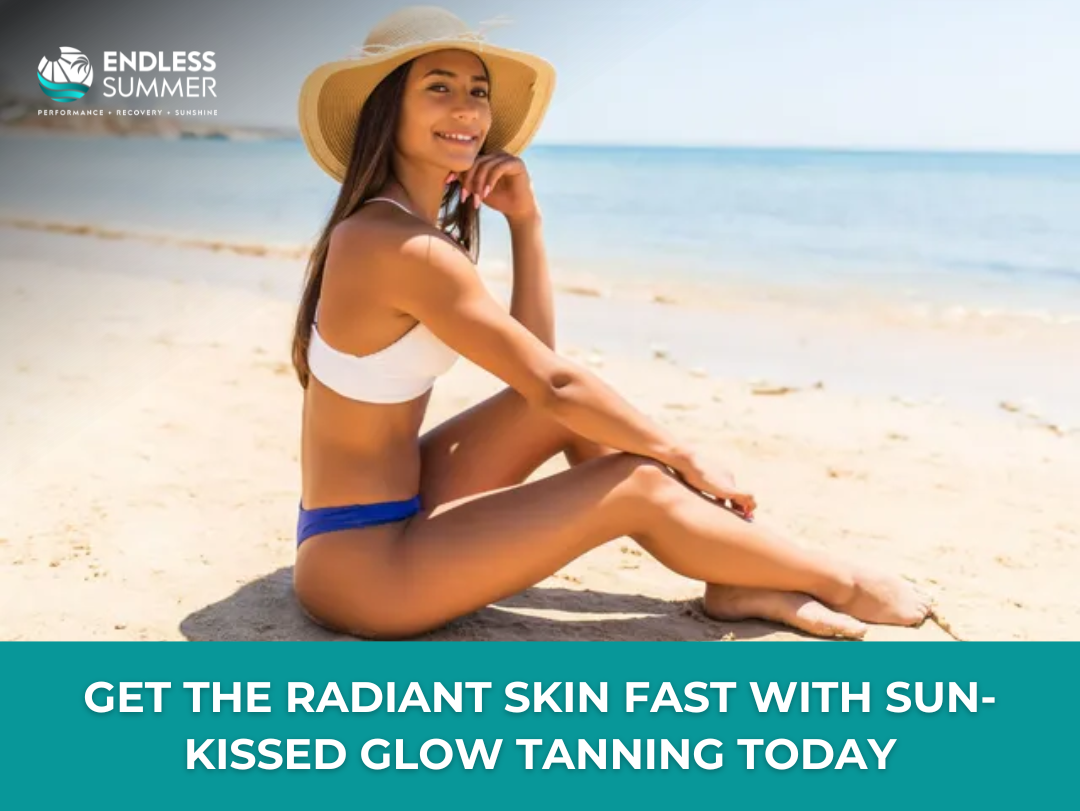
Glowing, bronzed skin is more than just a seasonal trend—it’s a statement of confidence, self-care, and effortless beauty. But achieving that flawless, golden tone isn't just about picking a product and applying it. It’s about understanding how your skin reacts, prepping properly, choosing smart application techniques, and keeping your skin nourished throughout the process.
If you’ve ever dealt with streaks, uneven color, or fading within days, you're not alone. This guide covers everything you need to know about Sun-Kissed Glow Tanning—how to make it look natural, last longer, and support your skin’s radiance every step of the way.
Prepping the Skin: The Foundation of a Flawless Tan
A stunning tan starts before you even open a bottle. The prep stage is the difference between a patchy result and a seamless glow.
Start by exfoliating your entire body at least 24 hours before applying any product. Clears dead skin cells that would otherwise block even absorption. Use a gentle scrub with small, rounded particles. Focus on rough zones like knees, elbows, and heels, where skin tends to be drier and more textured.
After exfoliation, hydration is your next priority. Apply a lightweight, oil-free moisturizer right after your shower. Avoid thick, greasy lotions—they can act as a barrier, preventing the product from bonding to your skin.
Hair removal should be done a full day before tanning. Whether you shave or wax, allow your skin time to settle. Freshly shaved skin is more prone to irritation, and applying a self-tanner too soon could result in an uneven application or clogged pores.
Choosing the Right Product: Match It to Your Skin and Schedule
There are countless tanning products on the market—from quick sprays to slow-building lotions. The key is selecting what works best for your time, goals, and skin tone.
-
Spray tanning is ideal for fast, full-body coverage with minimal effort. A professional technician confirms the product is applied evenly across your body, giving instant results. It’s perfect for events or last-minute plans.
-
Self-tanning mousses and lotions allow for precise control. You decide how much color to apply and how often to build it. These are for both beginners and pros who want that extra flexibility.
-
Gradual tanners work over a few applications and are ideal for fair or sensitive skin. They're low risk, less prone to streaking, and give a more subtle finish over time.
Before applying anything new, do a patch test. Reactions to ingredients are rare, but it’s always better to be safe than sorry, especially when applying a product to your entire body.
Application Techniques That Make All the Difference
Once you’ve picked your product, the next step is flawless application. It is where technique becomes crucial.
-
Always start with clean, dry skin. Use a tanning mitt—not your hands—to apply the product. Mittens spread the product more evenly and keep your palms from turning orange.
-
Work in sections: arms, legs, torso, then face. Use circular motions and apply the product slowly and evenly. Don’t rush it—taking your time prevents streaks and blotches.
-
Blend lighter in tricky areas like your wrists, elbows, knees, and ankles. These zones absorb more product and can appear darker if not carefully blended.
Once you’re done, give the product time to dry. Avoid dressing immediately, and stay away from tight clothes, sweating, or water exposure for several hours to let the tan set properly.
How to Maintain That Glow for Days?
Maintaining your tan is just as important as applying it. Hydration is key—dry skin flakes faster, which causes your tan to fade unevenly.
Apply a gentle, fragrance-free lotion daily. Skip anything with alcohol or strong acids, as they can dry out or exfoliate the skin, removing your color faster.
Stay away from long, hot showers and harsh soaps. Use warm water and mild body wash to keep the skin clean without stripping it. Always pat your skin dry—never rub.
When the color begins to fade, you can refresh it with a gradual tanner or a light reapplication of your original product. Don’t forget to exfoliate gently before touching up to keep the skin surface smooth.
Common Tanning Mistakes That Affect Your Results
Even a well-planned routine can go wrong if you’re not careful. Here are a few mistakes you’ll want to avoid:
-
Applying product on dry patches: Always moisturize areas prone to dryness before tanning.
-
Skipping the mitt: Applying with bare hands almost always leads to stained palms and uneven application.
-
Layering too much at once: It’s better to build your tan over a couple of days than apply too heavily in one go.
-
Wearing tight clothing too soon: This causes creasing or rubbing, which leaves marks.
-
Ignoring your feet and hands: These areas need a softer touch—apply only what’s left on the mitt after doing larger areas.
Correcting mistakes after they happen can be difficult. Taking your time and sticking to each step carefully is the best way to avoid problems altogether.
Why Tanning Body Lotion Is a Game-Changer?
One of the most underrated tools in any tanning routine is a tanning body lotion. This type of product isn’t just about adding color—it’s about keeping your skin healthy, supple, and hydrated so your tan wears evenly.
A tanning lotion can either support a gradual tan or help you maintain an existing one. When used between applications, it can extend your tan's life by several days and keep the color looking rich.
Use it once or twice a day, depending on how dry your skin feels. Apply it like you would any regular body lotion, giving extra attention to commonly dry areas.
Make sure the formula is lightweight and streak-free. Sticky or oily formulas can clog pores or leave residue. A clean, fast-absorbing lotion will work better for most skin types.
Understanding Skin Tones for Better Tanning Results
Tanning isn’t one-size-fits-all. Different skin tones absorb and reflect color in different ways. Understanding how your natural complexion responds to bronzing agents can help you find your ideal product and routine.
-
Fair Skin: Start slow. Use light-to-medium formulas and apply every few days. Build your glow over time.
-
Medium Skin: You have more flexibility. Medium formulas tend to work well and hold color longer.
-
Olive or Deep Skin: Focus more on improving natural undertones and keeping your skin moisturized to maintain a healthy sheen.
If you’re unsure, try a product on a small area first before applying it to your whole body. Adjust your application method based on how it blends with your natural shade.
Sun Safety Remains Essential
Achieving a gorgeous, sun-kissed glow is a great way to boost your confidence, but protecting your skin is just as important. While tanning products give you a radiant finish, it's always wise to incorporate sun protection when enjoying the outdoors.
Choose a broad-spectrum SPF of at least 30 to maintain healthy, glowing skin, and reapply every two hours if you're spending time outside. Non-comedogenic sunscreens are a great choice, as they won’t interfere with your tan or skincare routine.
A glowing tan is most radiant when paired with skin that feels as good as it looks. Prioritize skin health, and your natural glow will always shine through beautifully!
Final Word
Confidence comes from looking and feeling your best, and a healthy, even tan can add to that in a big way. By following the right steps, using the correct products, and understanding your skin’s needs, you can create a glow that looks effortless but is built on smart habits.
With the right prep, thoughtful application, and consistent care, Sun-Kissed Glow Tanning becomes more than a moment—it becomes part of your glow-up routine.


Comments
0 comment